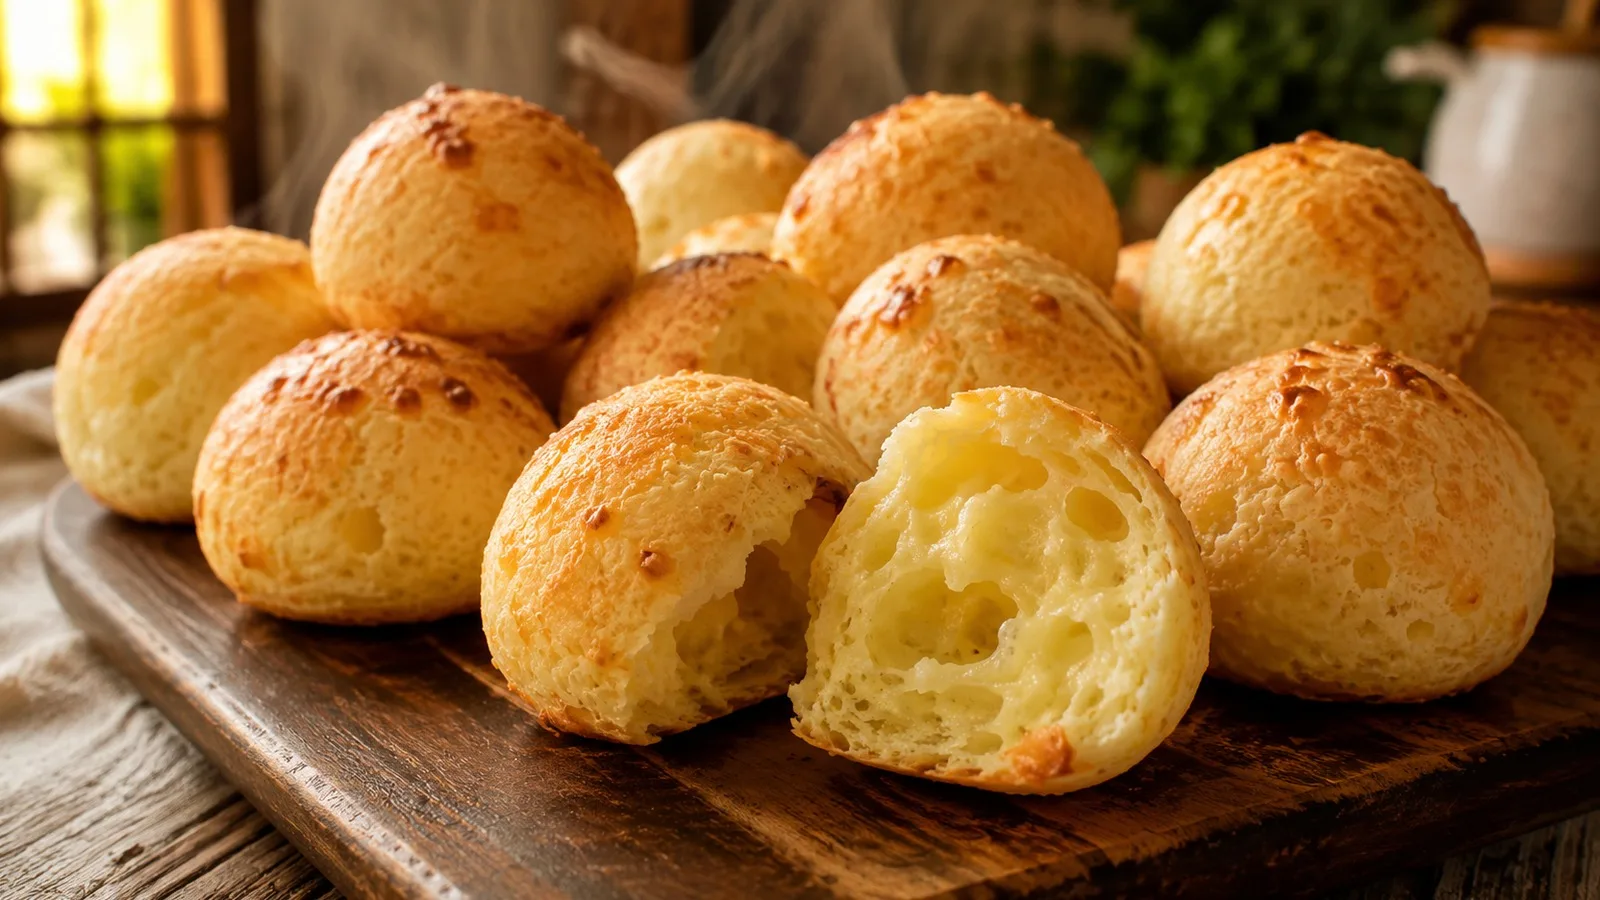

This version uses cooked savory dough and a firm cheese cube in the center. The main control is in the proportion of dough to filling, the absence of cracks and air pockets and more moderate frying, with the oil working close to 160°C in small batches.
Ingredients
For the dough
• 250 ml of whole milk
• 250 ml of water
• 40 g unsalted butter
• 7 g of salt
• 300 g unleavened wheat flour
For the filling
• 225 g of firm mozzarella, preferably low in moisture, cut into 28 cubes of approximately 8 g each
For breading
• 40 g of wheat flour
• 2 large eggs, beaten until smooth
• 160 g of fine breadcrumbs
For frying
• About 1.5 liters of neutral vegetable oil, or enough to make the pan approximately 5 cm deep
Preparation method
1. Cut and weigh the cheese
Cut the mozzarella into 28 cubes weighing approximately 8 g. Dry the surface with a paper towel if it is damp and keep the cubes in the fridge while you prepare the dough. Cold, regular-sized cubes make it easy to maintain the same dough thickness in all units.
2. Cook the pasta
Place the milk, water, butter and salt in a heavy-bottomed pan. Heat until it starts to boil. Add the 300 g of flour at once and stir vigorously over low heat for 3 to 5 minutes, scraping the bottom and sides, until the dough forms a cohesive ball, loses its raw flour appearance and leaves a thin film at the bottom of the pan.
3. Knead while it's still warm
Transfer the dough to a clean countertop. Wait until you can touch it without burning yourself and knead for 3 to 4 minutes, folding and pressing, until it is smooth, elastic and without cracks at the edges. Cover with a clean cloth or film to prevent crusting as you work.
4. Standardize dough and filling
Divide the dough into portions of 24 g. Flatten a portion in the palm of your hand, place an 8 g cube of cheese in the center and wrap it around without leaving air pockets. Close by joining the dough over the cheese and roll it between your hands until you get a smooth sphere. The reference ratio is about 3 parts pasta to 1 part cheese per unit.
5. Check the fence
The dough must completely cover the cube and be at least about 5 mm at the thinnest point. No corners of the cheese should be marked on the surface. If a crack appears, open the area again and press the dough together; just superficially smoothing a crack tends to leave it as a weak point during frying.
6. Bread without excess
Drink each ball first in a thin layer of wheat flour and shake off the excess. Then, dip in the beaten egg and then in the breadcrumbs, pressing gently to ensure it adheres evenly. The breading must cover the entire surface, but without forming a very thick crust.
7. Cool before frying
Place the breaded balls on a baking tray without touching each other and refrigerate for 30 minutes. They must enter the oil cold and firm, but they do not need to be frozen. This rest also allows the breading to better adhere to the surface.
8. Heat the oil with a thermometer
Use a deep pan and thermometer suitable for frying, keeping the tip of the sensor immersed in the oil without touching the bottom. Heat to 165°C. When placing the first batch, the temperature may drop; work between 155°C and 165°C, with a target close to 160°C. If it exceeds 170°C, wait for the oil to cool before continuing.
9. Fry in small batches
Fry 4 balls at a time, leaving space for the oil to circulate and avoiding a sudden drop in temperature. Cook for approximately 3 to 4 minutes, stirring carefully just enough to brown evenly. Between batches, wait for the oil to return to around 160°C before adding new units.
10. Drain and serve
Remove when they are evenly browned and the skin is firm. Drain first in a colander or wire rack for a few seconds and then on a paper towel. Wait 2 to 3 minutes before serving: the cheese inside is still very hot and fluid as soon as it comes out of the oil.
Right spot / how to know it’s ready
The cooked pasta is done when it forms a single ball, pulls away from the sides and leaves a thin film at the bottom of the pan; When kneaded warm, it should be smooth and malleable, without sticking too much to your hands.
Before frying, each ball must be perfectly closed, with no cracks, open seams or corners of the cube appearing under a thin layer of dough. A test unit is useful: when opened after frying, the cheese should be melted and still contained within the dough.
When frying, the skin should reach a uniform golden color in about 3 to 4 minutes, without inflating excessively or forming cracks. If the first ball opens before browning, stop the next batch and check temperature, dough thickness and closure.
Tips for the recipe to work out
Use firm, slightly moist cheese
Very moist mozzarella releases more liquid when heated and increases the chance of weakening the dough layer. If the cheese is wet on the surface, dry it before cutting and weighing.
Weigh the first few units
The difference between a stable ball and one with filling too close to the surface can be small. Standardizing 24 g of pasta and 8 g of cheese in the first units helps memorize the correct volume for the others.
Eliminate air pockets when closing
Press the dough around the cube before joining the seam. Void spaces heat, expand and create pressure at exactly the points where closures tend to fail.
Control the batch, not just the initial temperature
Adding many balls at once lowers the oil temperature and prolongs frying, favoring fat absorption. Fry four units at a time and wait for the temperature to recover between batches.
Make a test ball
The first unit works as a diagnostic. If it browns too quickly, lower the heat; If it takes a long time and becomes oily, wait for the oil to regain temperature; if it opens, review the others before continuing.
Substitutions and variations
Mozzarella can be replaced by cheese in the same weight range per unit. Prato cheese melts easily and tends to have a more buttery flavor. Provolone also works, but is saltier and can release more fat; Slightly reduce the salt in the pasta if using a well-ripened cheese.
Panko flour can replace some of the breadcrumbs for a more irregular and crispy crust. For this recipe, mixing panko with fine breadcrumbs tends to give a more continuous coating than using just large flakes.
It is possible to use only water in the dough, maintaining the total volume of liquid, but the flavor is less dairy and the golden color may be more discreet. Using only milk makes the dough richer and tends to brown faster, requiring even greater attention to temperature.
How to store
The raw and already breaded balls can be refrigerated, well covered and separated into a single layer, for up to 24 hours before frying. To store for longer, freeze first
on a baking tray until firm and then transfer to a well-sealed packaging. Food kept continuously frozen at -18°C remains safe for long periods, although quality declines over time.
To fry from frozen, do not defrost on the counter. Working with smaller batches, keep the oil between 155°C and 160°C and increase the time just enough for the skin to brown and the center to be very hot.
Already fried balls are best on the same day. If you have leftovers, refrigerate in a shallow container within 2 hours and consume within 3 to 4 days. To recover some of the crunchiness, reheat in the oven or air fryer until hot; the microwave softens the breading.
How to serve / side dishes
Serve as a party snack or snack, preferably a few minutes after frying. Mild hot sauce, ketchup, seasoned mayonnaise or thick tomato sauce work well, but serve sauces on the side to avoid dampening the cone.
Common mistakes
Why did my ball crack?
The most common cause is a microcrack that already exists before entering the oil, normally caused by dry, under-kneaded or poorly joined dough. Keep the dough covered while shaping, and fix cracks by opening and resealing the area, rather than just running your finger over it.
Why did the ball open at the seam?
The seam may have become thick on one side and thin on the other, or an air pocket may have remained near the hub. Center the filling, press the dough against the cheese and roll until the joint disappears completely.
Why did the cheese leak even without the ball opening much?
The filling was probably too close to the surface or the oil was too hot, causing the outside to harden and brown before the whole thing gradually heated up. Use cubes weighing around 8 g, preserve at least 5 mm of dough and keep frying at around 160°C.
Why did you get soaked?
The oil probably fell below the working range due to too many units in the batch or lack of recovery time between frying. Fry a few balls at a time and only start a new batch when the thermometer returns to around 160°C.
Why didn't the cheese melt in the center?
The ball may have been too big, the filling may have been too cold or the frying may have ended too soon because the skin browned too quickly. Standardize oil size and temperature; If necessary, reduce the heat slightly and give it a few additional seconds without letting the skin darken too much.