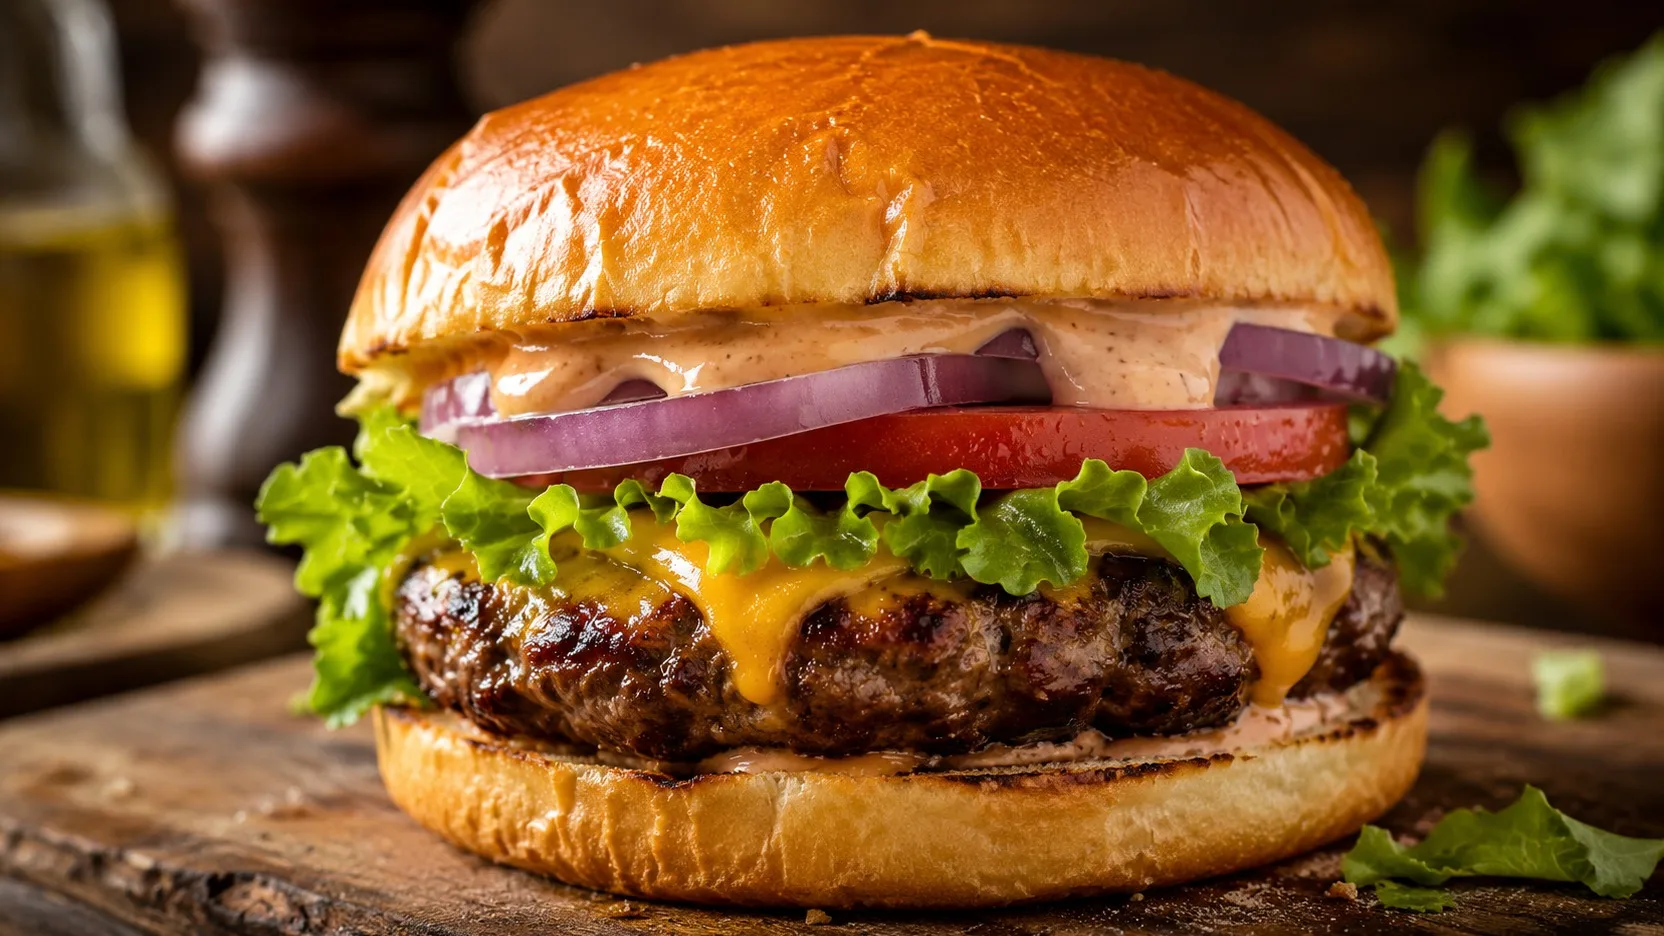
Homemade burger made only with well-proportioned meat, salt and pepper, with light shaping to preserve a loose and juicy texture. The recipe uses 160g burgers, about 1.8cm thick, and is finished with cheese, fresh vegetables and sauce on a toasted bun.
Ingredients
For the burgers
• 640 g of ground beef with approximately 20% fat, well chilled
• 8 g of fine salt, for seasoning just before cooking
• 2 g freshly ground black pepper
For the sauce and assembly
• 4 hamburger buns measuring 9 to 10 cm in diameter
• 4 slices of cheddar cheese or cheese, about 20 g each
• 60 g mayonnaise
• 20 g of ketchup
• 10 g of yellow mustard
• 4 lettuce leaves, washed and dried very well
• 1 medium firm tomato, approximately 160 g, cut into 4 thick slices
• 1/2 small red onion, about 60 g, cut into thin slices
• 10 g of butter, for toasting the bread
Preparation method
1. Get the assembly ready
Mix the mayonnaise, ketchup and mustard until you get a uniform sauce. Separate the cheese, lettuce, tomato and onion. Keeping these items ready prevents the burger from waiting after it comes out of the frying pan.
2. Toast the bread
Open the loaves, spread a thin layer of butter on the cut sides and place them in a wide frying pan over medium heat. Toast for 1 to 2 minutes, until golden spots appear. Remove and reserve with
toasted part facing up.
3. Portion without compacting
Divide the chilled meat into 4 portions of 160 g. Bring each portion together just enough to form a disc; do not knead, do not press repeatedly and do not mix salt into the meat. Shape into discs 10 to 11 cm in diameter and about 1.8 cm thick, slightly wider than the bread.
4. Make a depression in the center
With two or three fingers, make a shallow depression approximately 3 cm wide in the center of each disc. It helps compensate for the contraction of the meat and reduces the tendency for the burger to puff up in the middle. Keep the discs refrigerated while the pan heats.
5. Heat the frying pan well
Place a heavy frying pan, preferably cast iron or thick-bottomed, over medium-high heat for 3 to 4 minutes. The surface must be very hot before receiving the meat. If the frying pan cannot hold all four discs without touching, cook in two batches.
6. Season only when cooking
Now distribute the salt and pepper over both sides of the burgers. Immediately place them in the frying pan. Salting meat long before cooking alters the protein binding and can make the texture firmer and more elastic.
7. Brown the first side
Cook without pressing with the spatula for about 3 to 4 minutes, until the side in contact with the frying pan forms a dark brown crust and the sides begin to change color. If there is excessive smoke or the crust darkens too quickly, reduce the heat slightly.
8. Turn, melt the cheese and check the temperature
Flip the burgers, place a slice of cheese on each one and cook for another 3 to 4 minutes. Time is a reference: confirm the safe point by measuring the center with a culinary thermometer. For ground beef, reach at least 160°F. If the cheese needs help melting, only cover the pan for the final minute.
9. Assemble without delay
Spread sauce on the bottom half of each bun. Add lettuce, the burger with cheese, tomato, onion and a little more sauce. Close with the other half of the bread and serve immediately, while the meat is hot and the bread still has its toasted surface.
Right spot / how to know it’s ready
The outside must be well browned, with an evident crust and no appearance cooked in water. In the center, the safety reference for ground beef is 71.1°C measured with a culinary thermometer. Internal color is not a reliable indicator of safety: the burger may darken before reaching the required temperature or remain pink even after reaching it. The bread should only be golden on the cut side, without being dry.
Tips for the recipe to work out
Use meat with enough fat
A proportion of close to 80% meat and 20% fat favors flavor and juiciness. Very lean mixtures tend to lose their soft sensation more quickly once they reach a safe temperature.
Work with cold meat and stir as little as possible
The more the meat is kneaded and compacted, the denser the burger becomes. Portion, shape and stop as soon as the disc holds.
Salt outside and only at the last moment
The salt mixed early into the ground meat dissolves proteins that increase cohesion. For a looser-textured burger, season the surface immediately before frying.
Do not press the burger during cooking
The pressure expels liquid and fat into the pan. Use the spatula only to turn and remove the meat.
Measure the center, don't guess from the color
Thickness, initial temperature of the meat and stove power change the time. The thermometer resolves this variation better than a fixed number of minutes.
Substitutions and variations
The cheddar can be replaced with cheese, low-moisture mozzarella or another cheese that melts well. The flavor and intensity change, but the meat technique remains the same.
Brioche bread makes the sandwich softer and sweeter; sesame seed bun or traditional hamburger bun delivers a more neutral flavor. Choose a loaf close to the diameter of the finished disc to maintain a good proportion of meat and topping.
Meat with around 15% fat can be used, but the result tends to be less juicy. Avoid compensating with egg, flour or breadcrumbs if the intention is a classic meat burger: these ingredients change the structure and bring the disc closer to a meatball or meatloaf.
How to store
Raw ground beef should remain refrigerated at 4°C or below and generally be used within 1 to 2 days. If the discs are shaped in advance, leave them unsalted, well covered and always refrigerated.
Already cooked burgers must be refrigerated within 2 hours of preparation, or within 1 hour if the environment is above 32°C. In the refrigerator, consume within 3 to 4 days. To reheat leftovers, bring the center to 74°C. The assembled sandwich loses quality because of the vegetables and sauce; To freeze, prefer to store only well-wrapped meat discs.
How to serve / side dishes
Serve immediately with roast potatoes, French fries, leafy salad or pickles. For a firmer assembly, keep the tomato and lettuce very dry to avoid moistening the toasted bread.
Common mistakes
Why is my burger tough and sausage-like?
The most common causes are compacting the meat too much or mixing salt before shaping. Handle little and season only on the outside, just before cooking.
Why was it dry even though I used good meat?
Very lean meat, too much time in the frying pan or pressing the disc during cooking will expel juices and fat. Use a mixture with suitable fat, do not press and remove as soon as the safe temperature is reached.
Why did the center puff up and the burger was shaped like a ball?
Very thick discs without a central depression tend to contract and rise in the middle. Shape into uniform thickness and make a shallow cavity in the center before cooking.
Why did it burn outside before reaching the temperature in the center?
The frying pan may be too hot for the thickness of the disc. After the crust forms, reduce the heat and continue cooking until the center reaches a safe temperature, rather than maintaining maximum heat until the end.