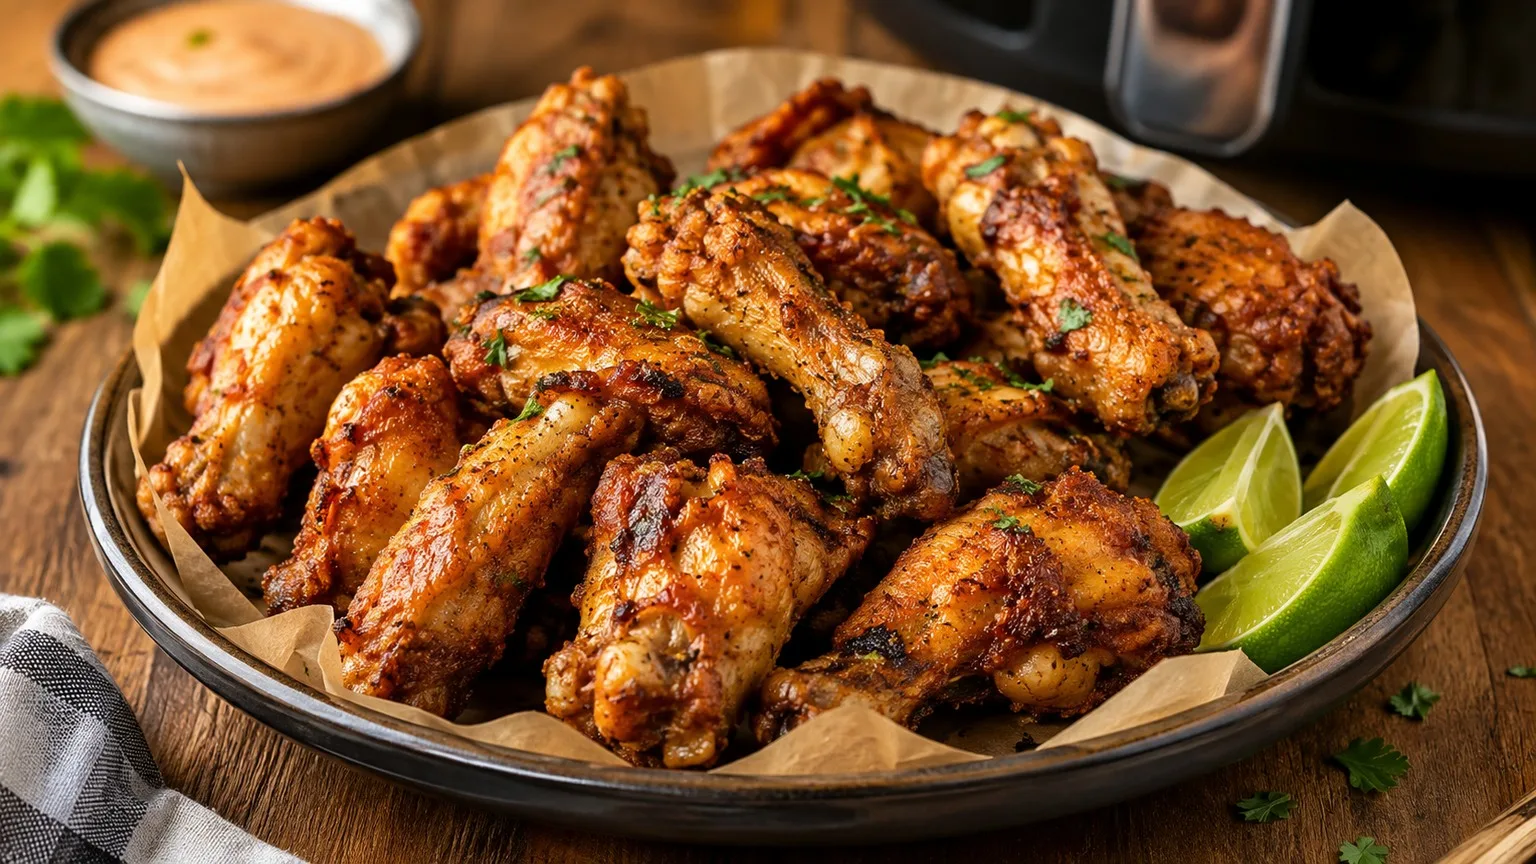
This version uses a thin coating of wheat flour, enough to help form a crust without turning the chicken into a heavy breading. To bake evenly, the pieces are placed in a single layer and the smaller ones are removed first when they reach the point.
Ingredients
• 1 kg of chicken, cut into small pieces of approximately 4 to 6 cm
• 5 cloves of garlic, finely chopped or crushed
• 1 1/2 teaspoon of fine salt, about 8 g
• 2 teaspoons sweet paprika
• 1/2 teaspoon ground black pepper
• 1 1/2 tablespoon olive oil
• 1/4 cup (tea) of wheat flour, about 35 g
• 2 tablespoons of chopped parsley to finish
• 1 lemon cut into wedges to serve
Preparation method
1. Dry and season the chicken
Dry the pieces well with paper towel and place in a bowl. Add the garlic, salt, paprika and black pepper. Mix until the seasoning covers all surfaces and let it rest for 15 minutes in the refrigerator.
2. Make the layer thin for crunch
If there is liquid accumulated at the bottom of the bowl, discard it. Drizzle the chicken with the olive oil and mix. Sprinkle the flour little by little and wrap the pieces until just a thin, irregular film forms, without patches of dry flour. Do not increase the flour to “bread” more: excess tends to become floury and may brown unevenly.
3. Preheat and divide into batches
Preheat the Air Fryer to 200 °C for 5 minutes. For a household basket of around 4 to 5 liters, work with approximately 450 to 500 g of chicken per batch. Arrange the pieces in a single layer, with small spaces between them and without overlapping. If your basket is smaller, make three batches. Keep uncooked chicken refrigerated.
4. Bake and turn halfway
Bake the first batch at 200°C for 15 minutes. Open the basket, loosen any pieces that have stuck together slightly and turn them over one by one with tongs. Continue for another 10 minutes.
5. Remove the smaller ones and finish the bigger ones
After 25 minutes of cooking, check the smaller pieces. Only remove those that are well browned and have reached at least 74°C in the thickest part of the meat, without
put the thermometer against the bone. Leave the larger pieces for another 4 to 8 minutes, checking for doneness at short intervals. Repeat the same process with the second batch.
6. Finish and serve
Place the finished chicken on a plate without covering it, so as not to trap steam in the crust. Sprinkle with parsley and serve immediately with lemon wedges, squeezing just before eating.
Right spot / how to know it’s ready
The surface must be well browned, dry to the touch of tongs and with a thin crust, without areas of white flour. The meat should be cooked close to the bone and juicy. To be safe, confirm at least 74°C in the center of the thickest part of the chicken pieces, without touching the bone; The color of the meat or broth alone does not replace this measurement.
Tips for the recipe to work out
Dry before seasoning
The less free water there is on the surface, the faster it can brown. Very wet chicken cooks in its own steam before gaining a crust.
Respect the basket capacity
The 450 to 500 g per batch are a reference for 4 to 5 liter baskets. The rule is visual: a single layer, no stacked pieces. If it doesn't fit, reduce the quantity.
Use a thin layer of flour
The flour should only cover the surface unevenly. Dry build-ups may remain whitish or burn before the meat is cooked.
Start checking before the end time
French chicken brings together parts with different thicknesses. Removing the small pieces first prevents them from drying out while the larger pieces finish cooking.
Leave the lemon for the table
Lemon is great for finishing, but adding it before baking increases surface moisture. In this version, it only comes in when serving to better preserve the crunchiness.
Substitutions and variations
Wheat flour can be replaced with about 30 g of cornstarch. The result tends to form a thinner, more brittle film and may brown slightly differently. Use only one of the two in the recipe, rather than mixing them.
Sweet paprika can be exchanged for smoked paprika in the same quantity. This changes the aroma and makes the flavor more toasty, without requiring a change in time.
If the pieces are skinless, use an additional 1 teaspoon of olive oil. The surface will have less natural fat and is usually less crispy than cuts with skin.
How to store
Serve preferably right after leaving the Air Fryer. If there is any leftovers, place in a shallow container and refrigerate for up to 2 hours; keep at 4°C or below and consume within 4 days. To reheat, use the Air Fryer at 180°C for about 5 to 8 minutes, or until the center returns to at least 74°C. To freeze, wrap tightly after cold and use within 2 months for best quality.
How to serve / side dishes
Serve as a snack with lemon, pepper sauce or seasoned mayonnaise. It also works as a main dish with rice, salad and roasted vegetables.
Common mistakes
Why was the chicken mushy instead of crispy?
The most common causes are excess humidity, an overfilled basket or overlapping pieces. Dry the chicken well, keep it in a single layer and make more batches when necessary.
Why did white flour spots appear?
The frosting was thick or did not receive enough fat to adhere. First mix the olive oil and then gradually sprinkle the flour, stopping as soon as there is a thin film.
Why did some pieces dry out?
They were probably smaller and stayed in the basket until the bigger ones finished. Start checking at 25 minutes and remove each piece as soon as it is golden and reaches a safe temperature.
What to do if it browns before reaching 74°C?
Reduce the Air Fryer to 190°C and continue for a few more minutes, checking the center at short intervals. This gives the thickest part time to cook without browning the surface too much.