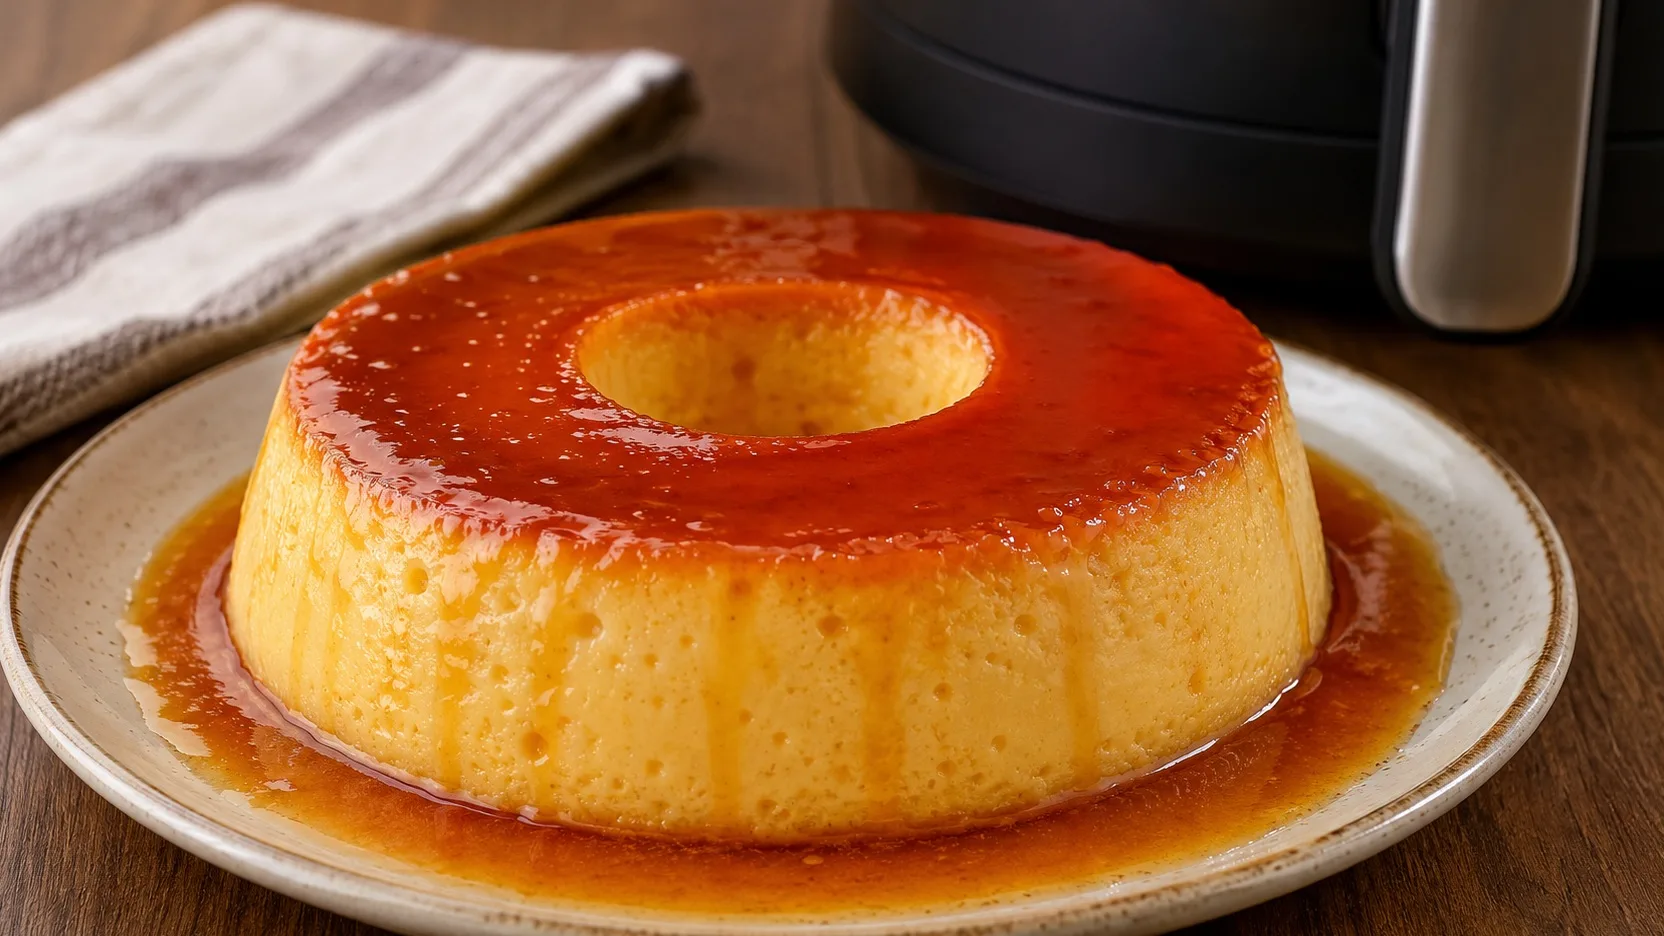
In this version, the 18 cm mold is placed inside a baking tray filled with hot water. The water bath helps to soften the action of the Air Fryer's hot air, while the time range allows you to adjust the doneness to your appliance without depending on a single number of minutes.
Ingredients
For the syrup
• 120 g of refined sugar (about 2/3 of a teaspoon)
• 60 ml of hot water (1/4 cup of tea)
For the pudding
• 1 can or box of condensed milk, 395 g
• 500 ml of whole milk
• 3 large eggs
Equipment
• 1 aluminum pan with a central hole measuring 18 cm in diameter and approximately 7 cm in height, with a minimum capacity of 1.2 liters
• 1 round baking tray measuring approximately 20 cm that fits inside the Air Fryer basket and holds the pudding shape
• Aluminum foil
• Fine sieve and jug or bowl with spout, if possible
Preparation method
1. Check the fit before starting
Place the empty 20 cm baking dish and 18 cm pan in the basket to check that they fit in without forcing the sides and that the drawer closes normally. In this recipe, the water from the bain-marie remains only in the outer pan, and does not flow to the bottom of the device.
2. Make the syrup
Place the sugar in a small saucepan and heat over low to medium heat until it melts and turns amber in color. Add the hot water slowly and carefully, as the caramel will bubble. Keep on low heat for 2 to 3 minutes, just until the lumps dissolve and the syrup is smooth. Pour into the 18 cm mold, rotate to cover the bottom and part of the sides and let it cool for about 10 minutes.
3. Mix the pudding without incorporating too much air
Break the eggs into a bowl and mix with a whisk just until the whites and yolks come together. Add the condensed milk and then the milk, stirring slowly until smooth. Pass the mixture through a sieve. Avoid blending for a long time in the blender, as excess foam causes holes.
4. Set up the water bath
Preheat the Air Fryer to 160 °C for 5 minutes. Place the outer baking tray in the basket and place the caramelized mold inside it. Pour the pudding mixture into the mold, leaving at least 1 cm free to the edge, and cover tightly with aluminum foil. Add hot water to the outer pan until it reaches approximately half the height of the pudding mold. Make this assembly with the basket supported and stable to avoid spills.
5. Bake and adjust for doneness
Bake at 160°C for 30 minutes. Open carefully and check the center. If it is still liquid, continue in 5 minute intervals. In stronger appliances, the pudding can reach the point in around 35 to 40 minutes; in others, it may need around 45 to 50 minutes. Do not increase the temperature to speed things up, as the edges may overcook before the center sets.
6. Cool and freeze
Remove the mold from the water bath with thermal gloves and let it cool for about 30 minutes. Refrigerate in the pan, covered, for at least 4 hours. The pudding firms up more as it cools, so don't try to unmold it while it's warm.
7. Unmold
Run a thin knife just along the outer edge and around the central tube, without going too deep. If the syrup is too stuck, rest the bottom of the mold for 10 to 15 seconds on a cloth dampened with very hot water. Cover with a high-edged plate and turn at once.
Right spot / how to know it’s ready
The surface must be firm at the edges and the center must shake like a block when the mold is moved lightly, without forming waves of liquid. A thin knife inserted a few inches from the center may come out wet, but should not bring liquid egg mixture. If using a culinary thermometer, 71 °C in the center is a minimum safety reference for egg preparations; However, also pay attention to the texture, as the pudding will finish firming up in the fridge.
Tips for the recipe to work out
Avoid foam for a smoother pudding
Mix the eggs and dairy products with short movements and pass the dough through a sieve. The more air that enters the mixture, the greater the chance of many holes appearing.
Use the indicated form and respect the clearance
The 18 cm by approximately 7 cm pan accommodates this quantity with room for expansion. If your pan is smaller, don't pour in all the mixture: leave at least 1 cm free to the edge.
Start checking before the maximum time is up
Air Fryers of different sizes and powers transfer heat in different ways. Checking after 30 minutes prevents a stronger appliance from leaving the pudding dry or full of bubbles.
Keep the aluminum foil tightly fitted
The coating reduces surface dryness and helps protect the pudding from the direct heat of the heating element. Attach the paper to the edges of the shape, leaving no loose ends.
Substitutions and variations
Whole milk can be replaced with the same amount of semi-skimmed milk, but the pudding tends to be a little less creamy. For an aromatic note, you can add 1 teaspoon of vanilla extract or essence to the mixture. Changing or removing eggs changes the structure of the dessert and requires a different formulation; do not make a direct substitution keeping the other quantities.
How to store
Keep the pudding covered in the refrigerator and consume within 3 to 4 days. As it contains eggs and milk, do not leave the dessert unrefrigerated for more than 2 hours; in an environment above 32 °C, reduce this limit to 1 hour. Freezing is not the best option for quality, as thawing can make the texture grainy and release liquid.
How to serve / side dishes
Serve very cold, with the syrup distributed over the slices. An unsweetened or lightly sweetened coffee helps balance the sweetness of the dessert.
Common mistakes
Why is my pudding full of holes?
The most common causes are too much air in the mixture and too high heat. Mix without foaming, use a sieve, bake covered and keep the Air Fryer at 160°C, adjusting the time instead of increasing the temperature.
Why did the center become liquid?
The pan may be deeper, the Air Fryer may heat less or the water bath may have started with not very hot water. Continue cooking in 5-minute blocks and check the center for jitter before removing.
Why did the pudding break when unmolding?
This usually happens when it is still warm or has not had enough time in the refrigerator. Freeze for at least 4 hours and loosen just the edges before turning.
Why was the syrup bitter?
The sugar was overcooked and turned too dark. Remove the caramel from the heat when it turns amber; it continues to gain color from the residual heat of the pan.