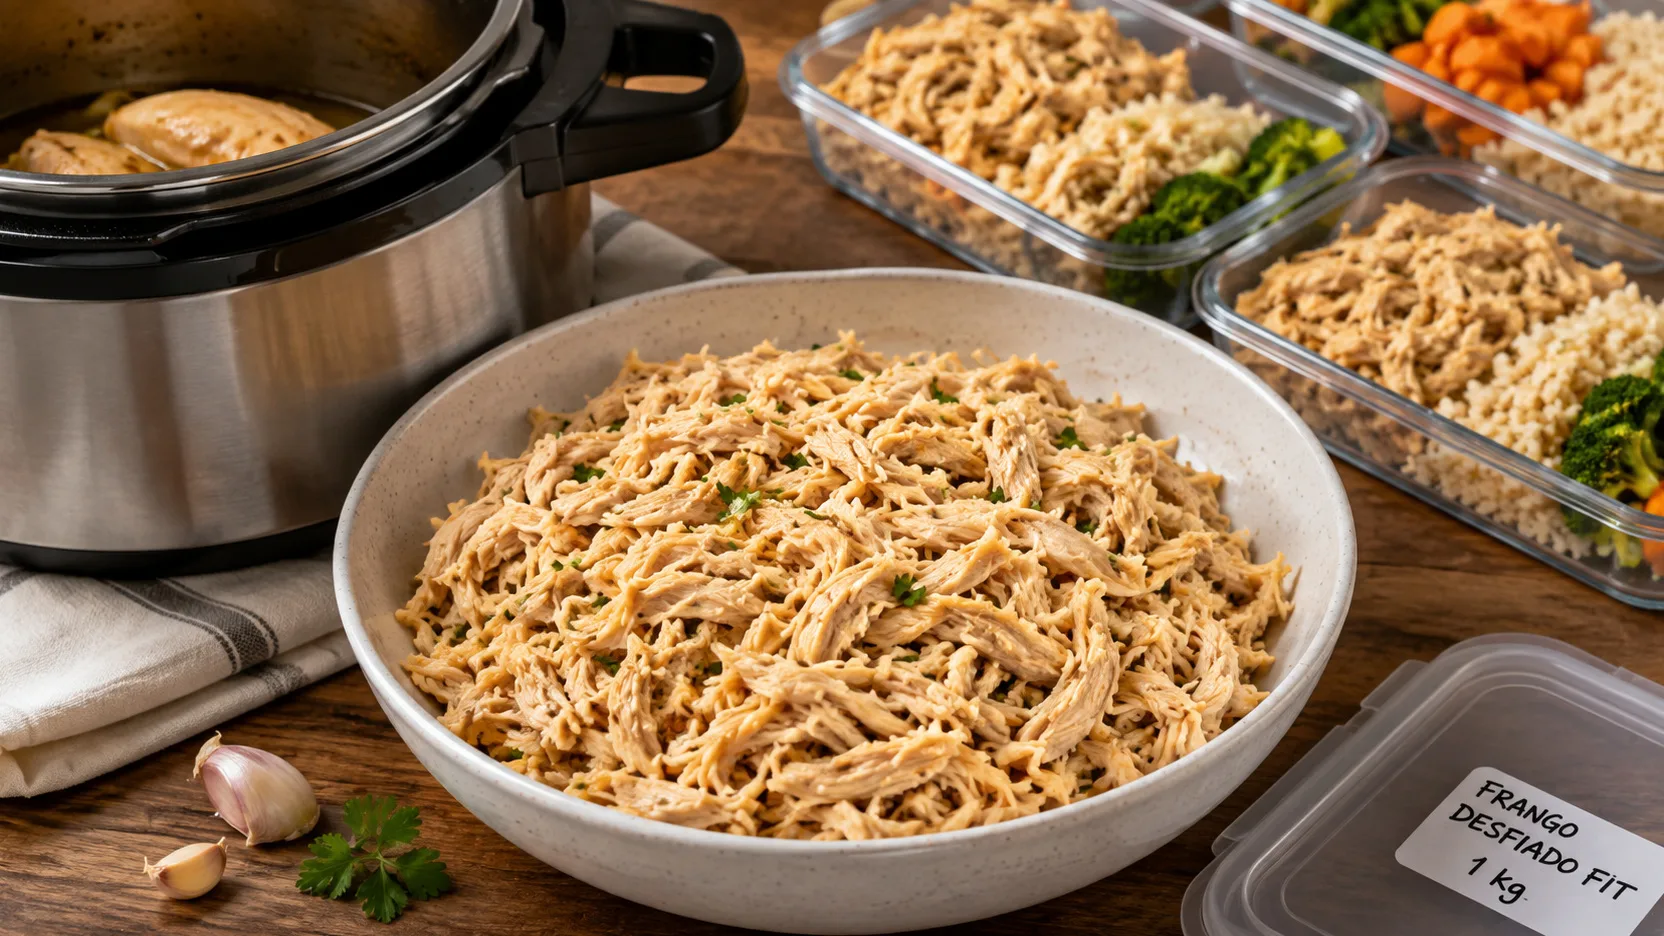
This version was designed to prepare 1 kg of chicken breast at once, shred it without excessive work and maintain enough moisture for the week's lunches. The pressure cooker must have adequate capacity for the batch; A domestic model of 4.5 to 6 liters usually accommodates this quantity comfortably, always respecting the limit and minimum volume of liquid indicated by the manufacturer.
Ingredients
• 1 kg boneless, skinless chicken breast, defrosted, cut into 4 to 5 cm pieces
• 250 ml of hot water, or the highest minimum volume indicated in your pressure cooker manual
• 1 medium onion, about 150 g, chopped
• 3 cloves of garlic, about 12 g, chopped
• 1 tablespoon of olive oil, 15 ml
• 7 g of salt
• 1 teaspoon sweet or smoked paprika
• 1/2 teaspoon black pepper
• 1 bay leaf
• 2 tablespoons chopped parsley, optional
Preparation method
1. Cut the chicken into uniform pieces
Only dry the excess moisture on the surface with a paper towel and cut the breast into 4 to 5 cm pieces. Maintaining a similar size helps to cook evenly without prolonging the pressure until the smaller parts dry out.
2. Make a quick seasoning base
Heat the olive oil in an open pressure cooker over medium heat. Sauté the onion for about 3 minutes, until wilted, and add the garlic for another 30 seconds. Add the chicken, salt, paprika and pepper. Mix for 2 to 3 minutes, just until the outside loses its raw appearance; It is not necessary to brown all sides.
3. Add liquid and pressure cook
Add 250 ml of hot water and scrape the bottom of the pan to loosen any residue. Add the bay leaf. This volume is the minimum indicated in many domestic models, but the manual for your pan prevails: if the manufacturer requires more liquid, use the indicated volume. Do not exceed the maximum filling limit of the equipment.
Close the pan and heat over high heat until pressure is reached. Lower the heat enough to maintain stable pressure and count 10 minutes. In a slow cooker, use high pressure for 10 minutes. The heating time until pressure is reached is not included in this count.
4. Safely depressurize and check cooking
Turn off the heat and let the pressure drop naturally for 5 minutes. Then, release only the remaining pressure according to the manufacturer's instructions and only open when the indicator confirms zero pressure. For an objective safety check, the center of the thickest piece of chicken must reach at least 74°C.
5. Reserve the broth before shredding
Remove the bay leaf and transfer the liquid from the pan to a heat-resistant jar, reserving it. Leave just a thin layer of broth on the bottom, about 2 to 3 tablespoons. This reduces spatter and prevents the chicken from getting soggy during shredding.
6. Shred in the pan
With the pan turned off, completely without pressure and away from the heat source, replace the lid only if your model allows this to be handled safely. Hold the support points provided by the manufacturer and make 8 to 10 short back and forth movements. Open and loosen any larger pieces with a spoon. If the shape of the lid is not suitable for shaking the pan, lightly mash the chicken with a clean tamper or shred it with two forks inside the pan.
7. Give back some of the broth
Add 80 ml of the reserved broth to the shredded chicken and mix. Wait 1 minute for the fibers to absorb. If it still seems dry, add more broth little by little, until about 120 ml in total. The sweet spot is moist and shiny, but with no liquid pooling at the bottom. Mix in the parsley, if using.
8. Weigh and portion for lunch boxes
Weigh the finished batch after reincorporating the broth and divide by the desired number of meals. For portions of approximately 100 g of cooked chicken, 1 kg of raw chicken usually yields around 7 portions, with slight variation depending on the cut and water loss. If you want larger portions, divide the final weight equally between 5 or 6 containers.
Right spot / how to know it’s ready
The chicken should separate into fibers with little pressure, without gelatinous or raw parts in the center. For safety, the most reliable reference is temperature: the thickest part must reach at least 74°C. After being shredded and hydrated with part of the broth, the fibers should remain loose, soft and with a slight shine; if there is a pool of liquid at the bottom, too much broth was added.
As a yield reference, 1 kg of boneless, skinless raw breast tends to result in approximately 700 to 750 g of cooked meat before reincorporating the broth. By returning 80 to 120 ml of cooking liquid, the finished base can be around 780 to 850 g. The actual weight varies with the size of the pieces, composition of the breast and cooking time, so weighing the batch is the most accurate way to standardize the lunchboxes.
Tips for the recipe to work out
Cut before pressing
4 to 5 cm pieces cook more evenly than whole breasts. If you prefer to cook very large fillets or whole breasts, the time may need to be increased to about 12 to 15 minutes after the cooker comes to pressure.
Respect the minimum liquid content of your model
The 250 ml of this formula works as a reference for several domestic stove models, but some pans, especially electric ones, may require more liquid. Never reduce below the manufacturer's minimum to try to concentrate flavor.
Do not discard all the broth
Some of the feeling of dry chicken appears after the meat is shredded and quickly loses steam. Reincorporating the broth little by little adds moisture without turning the base into a stew.
Avoid prolonging the pressure unnecessarily
After the chicken has reached a safe temperature and falls apart easily, cooking much longer makes the fibers thinner, more brittle and dry. Adjust the size of the chunks first, not just the clock.
Portion by final weight
For consistent lunchboxes, don't try to estimate visually. Weigh the finished batch, deduct the container and divide by the number of servings you intend to assemble.
Substitutions and variations
Can I use boneless thighs?
You can. It tends to be juicier and has a more intense flavor, in addition to having more fat than the breast. Cut to a similar size and use the same initial pressure time, checking the doneness before deciding if you need extra minutes.
Can I swap the water for broth?
Yes. Choose broth without excess salt, because the reduction and reincorporation of the liquid concentrates the seasoning. If you use already salted broth, reduce the salt from the list and adjust it only at the end.
Can I make it without olive oil?
You can. Saute onion and garlic with 2 to 3 tablespoons of the recipe's own water and proceed as normal. The flavor is a little less toasted, but the structure of the preparation does not change.
How to store
Following Anvisa's health guidelines, do not leave the chicken ready until it cools completely on the counter. Pour into shallow containers and refrigerate or freeze within 2 hours of preparation.
In the refrigerator, keep at 4°C or below and consume within 5 days. If the refrigerator works above 4 °C and below 5 °C, the period must be reduced. Label the jars with the preparation name and date.
To freeze, use individual portions and keep the freezer at -18°C or colder. For better texture and flavor quality, prefer to consume frozen cooked chicken within 4 months. Freeze with 1 to 2 tablespoons of broth in each serving to reduce dryness when reheating.
Thaw in the refrigerator, below 5°C, or in the microwave when reheating immediately. Do not defrost on the counter. Reheat completely; If using a culinary thermometer, bring the center back to 74°C.
How to serve / side dishes
Use as a lunchbox base with rice, beans, potatoes, cassava, roasted vegetables, cooked vegetables or salad. It also works in omelets, wraps, tapioca and sandwiches. If the meal has sauce, make the chicken slightly less moist; If served with dry accompaniments, keep a little more broth in the portion.
Common mistakes
Why was my chicken dry even though it had broth?
The most common reason is excessive time under pressure or discarding all the cooking liquid. Use uniform pieces, stop cooking when the meat is safe and tender, and return the broth in small amounts after shredding.
Why did the chicken turn into a very thin batter?
This happens when the meat cooks longer than necessary or when the pan is shaken for too long. Make short movements, open, check the texture and finish the larger pieces with a spoon or fork.
Why was it watery?
Too much broth was reincorporated at once. Place the open pan over low heat for a few minutes, stirring, until the excess evaporates. Next time, add the broth in two or three additions.
Why didn't some pieces fall apart?
Larger or thicker pieces may have cooked less than the others. Check the internal temperature and, if necessary, cook a little longer before trying to shred it. Cutting the breast into similar sized pieces reduces this problem.
Why didn't the pan come to pressure?
Stop the process and consult the manual. Low liquid, poorly fitted seal or blocked valve are common causes. Do not continue heating a pan that does not pressurize properly without checking the equipment.