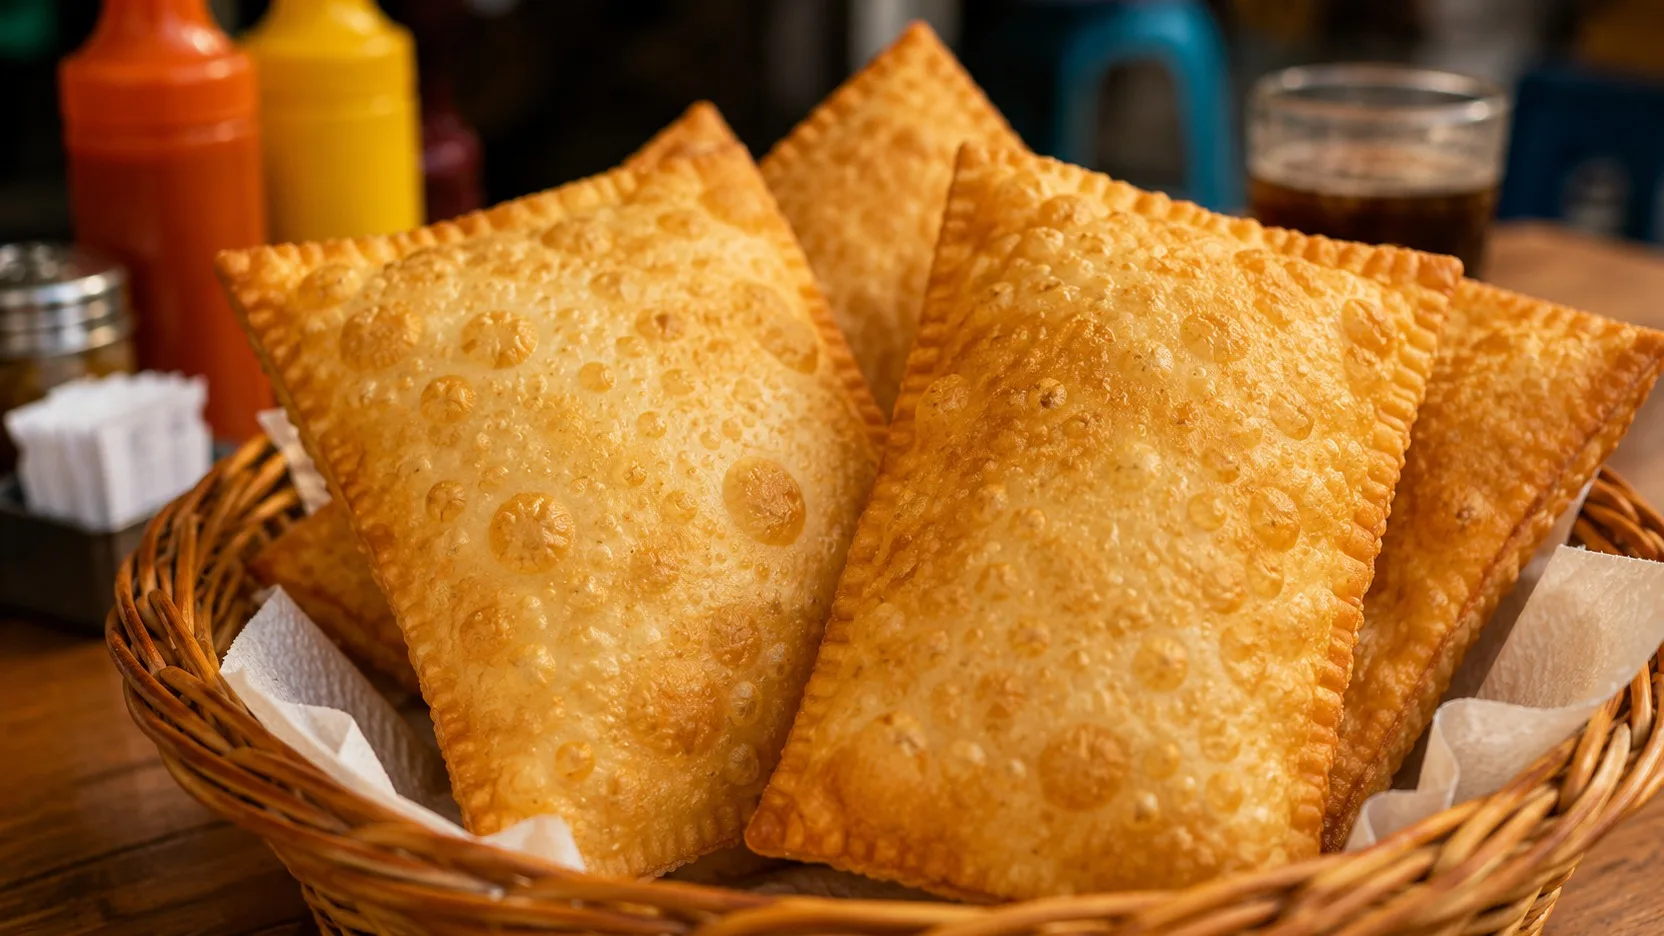

Cheese bread made using the poached method, with semi-cured cheese and a mixture of sour and sweet starch to combine good expansion with an elastic crumb. The dough's doneness is adjusted by gradually adding the egg, because absorption varies depending on the cassava starch, cheese and the size of the eggs.
Ingredients
• 180 g of sour cassava starch
• 120 g of sweet cassava starch
• 150 g of whole milk
• 75 g of water
• 50 g of neutral oil
• 5 g of salt, or less if the cheese is very salty
• 100 g beaten egg, about 2 large eggs, to add little by little
• 250 g semi-cured Minas cheese grated on a medium or coarse grate
• Small quantity of oil to grease your hands
Preparation method
1. Preheat the oven and prepare the baking sheets
Heat the oven to 200°C for at least 15 minutes. Set aside two large non-stick baking trays or grease them with a thin layer of oil. Leave space for the cheese breads to rise without touching each other.
2. Mix the sprinkles
Place the sour cassava starch and sweet cassava starch in a large bowl and mix until evenly distributed. This combination favors expansion without leaving the crumb excessively hollow or dry.
3. Blanch the cassava starch
Bring the milk, water, oil and salt to medium heat. As soon as it boils, turn it off and immediately pour it over the starch, stirring with a firm spoon or spatula. Mix until no areas of starch remain completely dry. The dough will be grainy and heavy. Let it cool for about 8 to 10 minutes, until it can be touched comfortably.
4. Add the egg little by little
Stir the beaten egg and first add about three-quarters of it. Knead or mix vigorously until combined. Add the rest in small portions, stopping as soon as the dough becomes soft, sticky and moldable. It should yield to finger pressure but still hold a rounded portion without running. Depending on the moisture of the cheese and the absorption of the starch, there may be some beaten egg left.
5. Add cheese
Add the grated semi-cured cheese and knead for 2 to 3 minutes, until it is distributed throughout the dough. The preparation should be homogeneous, with small strings or dots of cheese, but without liquid separated at the bottom of the bowl.
6. Model portions of 35 g
Lightly grease your hands with oil. Divide the dough into 26 portions weighing approximately 35 g and roll into balls. Arrange on baking sheets with about 4 cm between them. If the dough is too sticky, wash and dry your hands, grease again and continue; Do not add large amounts of raw cassava starch to firm it up.
7. Bake until risen and golden.
Place in a preheated oven at 200 °C and bake for 22 to 28 minutes. If the oven bakes unevenly, rotate the pan after the loaves are inflated and firm, without opening the door for the first 15 minutes. Remove when they are grown, with dry skin, golden spots and a slightly colored base.
Right spot / how to know it’s ready
The finished cheese bread is visibly inflated, with a dry, firm surface and golden cheese spots. When pressed lightly, the crust offers resistance and the bread regains some of its shape. After resting for 3 to 5 minutes, an opened unit should show a moist and elastic crumb, with irregular cavities, without a strip of raw dough or the appearance of wet cassava starch in the center. If the shell is already very dark before the center sets, reduce the oven by 10 to 20°C for the next batch.
Tips for the recipe to work out
Add the egg as a point, not as an obligation
The weight of the eggs helps repeat the recipe, but absorption changes between brands of tapioca starch and cheese curing levels. Reserving part of the egg avoids turning the dough into a paste that spreads across the pan.
Wait until it cools down
Adding egg and cheese while the dough is still very hot can cook part of the egg and melt the cheese prematurely, damaging the texture and making mixing difficult.
Prefer low-moisture semi-cured cheese
More cured cheese delivers more intense flavor and less water to the dough. Very moist cheeses may require less egg and tend to make the molding more sticky.
Do not bake in a warm oven
The oven needs to be effectively preheated so that the dough expands before the structure dries out too much. Opening the door early also reduces the heat just as the cheese bread is puffing up.
Remove when it browns, not when it dries out
Excessive oven time hardens the shell and removes moisture from the kernel. Use the clock as a track and confirm by the dot signs.
Substitutions and variations
Can I just use sour cassava starch?
You can. Increasing the participation of sour starch tends to favor expansion and a more aerated structure. The dough may also be more irregular and the result lighter. Keep the egg gradual as absorption may change.
Can I just use sweet cassava starch?
You can, but the result tends to rise less and become more compact and chewy. To preserve the profile of this recipe, mixing the two starches is the most balanced option.
What to use instead of semi-cured cheese?
Use 200 g of standard Minas cheese and 50 g of grated parmesan. The flavor will be different, but the combination maintains a good presence of cheese and helps compensate for the lower intensity of the standard Minas. Taste the cheese before adding 5 g of salt.
How to store
Cheese bread has the best texture freshly baked. Once cold, store leftover roast in an airtight container in the refrigerator and consume within 3 to 4 days. To recover the skin, heat it in the oven or air fryer until the center is hot.
To freeze before baking, shape the balls, freeze them separately on a baking tray and then transfer them to a tightly closed bag or container. Use preferably within 3 months to preserve quality. Bake directly from the freezer at 200°C and start checking the doneness after about 28 minutes, as the time tends to be longer than fresh dough.
How to serve / side dishes
Serve warm, when the skin is still firm and the core is elastic. Pairs well with brewed coffee, coffee with milk or tea. For a sweet and savory contrast, guava paste served on the side works well without altering the dough.
Common mistakes
Why did my cheese bread spread on the pan?
The most common cause is too wet dough, usually due to too much egg or too wet cheese. Next time, add the egg little by little and stop when the dough still holds its shape. For a ready-made dough that is just a little soft, 20 to 30 minutes in the refrigerator can make shaping easier.
Why was it heavy and with little growth?
Oven not too hot, insufficient blanching, excessively dry dough or too high a proportion of sweet cassava starch can limit expansion. Confirm preheating and look for the soft, sticky spot before styling.
Why was it hard after baking?
Overheating is the most likely cause. Remove when the skin is firm and golden, but before it dries completely.. Too little cheese or too dry pasta also makes the result more rigid.
Why was the crumb too raw or gummy?
Too large units or a very strong oven may brown the outside before the center sets. Keep portions closer to 35g and, if your oven browns quickly, reduce the temperature by 10 to 20°C after the loaves are well puffed.