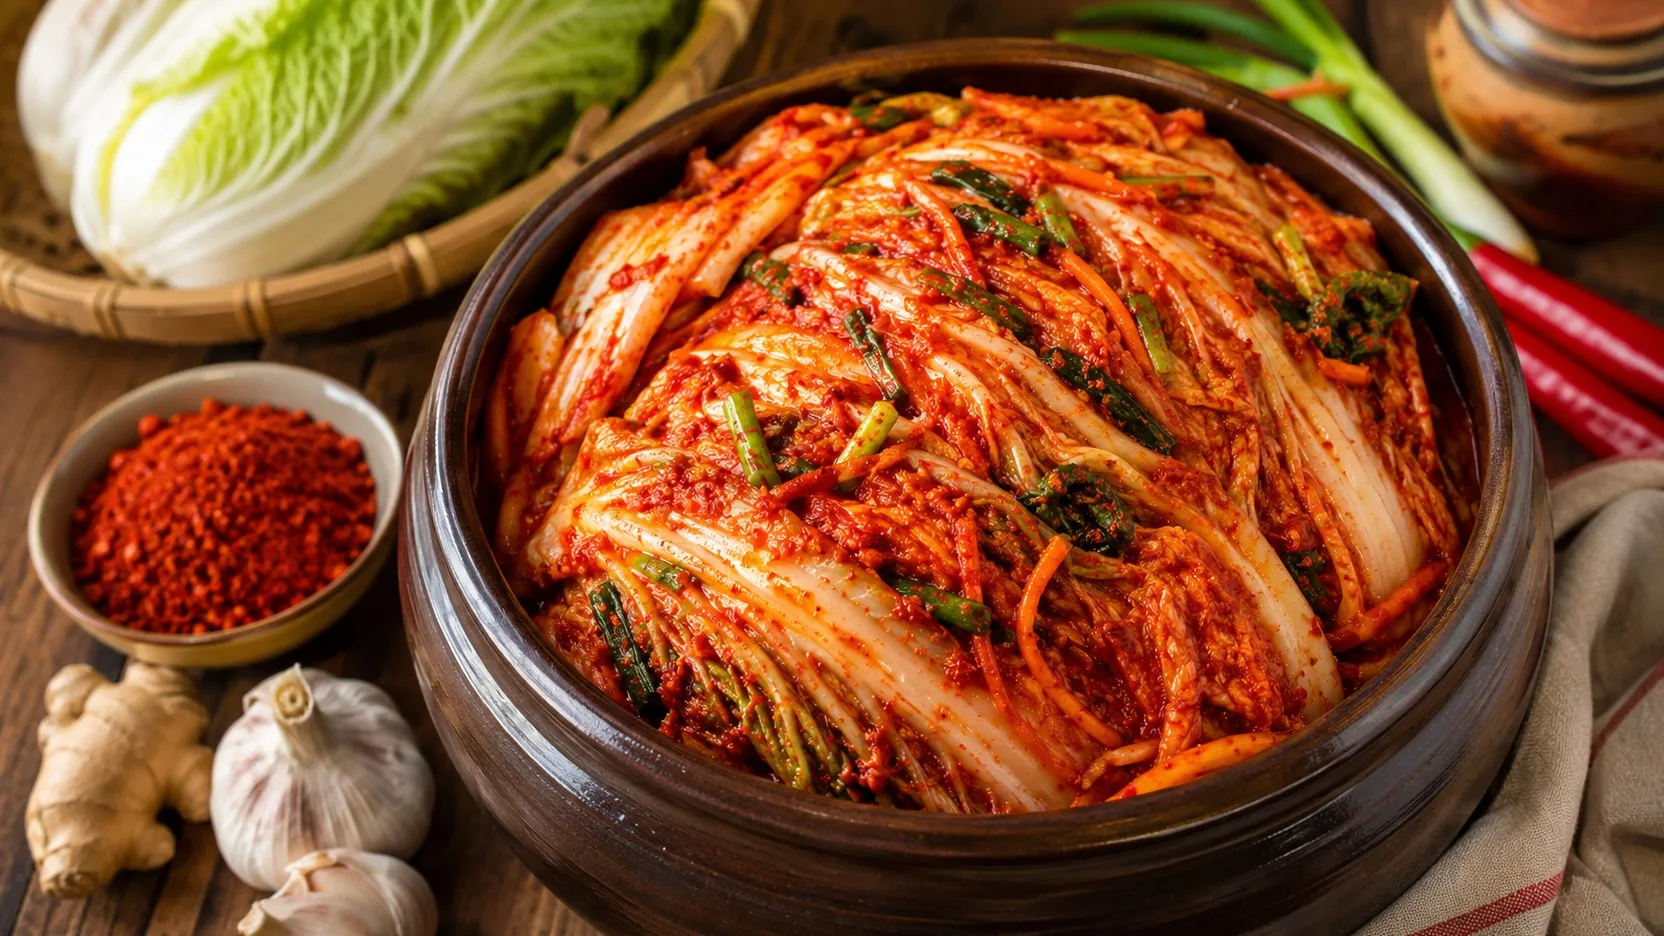
This baechu-kimchi uses napa-type chard, also called Chinese cabbage, kept in quarters and seasoned leaf by leaf. The fermentation time is just an estimate: in this recipe, the safety criterion is to reach a pH of 4.6 or lower before consumption, measured with an appropriate strip or pH meter. Bubbles, acidic aroma and increased liquid indicate fermentative activity, but are not a substitute for pH measurement.
Ingredients
To salt the chard
• 1 large napa chard, weighing 2.0 to 2.2 kg
• 120 g coarse non-iodised sea salt, divided
• 1.2 liters of cold drinking or filtered water
For the kimchi paste
• 15 g of glutinous rice flour
• 240 ml of water
• 80 g of gochugaru, the Korean pepper flakes suitable for kimchi
• 50 g of peeled garlic
• 12 g fresh peeled ginger
• 150 g ripe pear without seeds
• 45 ml fish sauce
• 10 g of sugar
• 300 g Korean radish or daikon, cut into thin sticks
• 80 g chives, cut into 4 cm pieces
Equipment
Use a large bowl, sieve or colander, small pan, cooking gloves, a glass or plastic container suitable for food with a capacity of around 4 liters and a lid, as well as pH strips with an approximate range of 3.0 to 5.5 and a graduation of 0.5 or a calibrated pH meter. Avoid metal containers and cracked or chipped ceramic pieces.
Preparation method
1. Sanitize the area and utensils
Wash your hands, countertop, knives, bowls, sieve and fermentation container thoroughly before starting. Use firm vegetables and discard leaves with deteriorated parts.
2. Cut the chard into quarters
Only remove damaged outer leaves. Make a cut at the base of the chard and finish separating it with your hands to form four quarters, keeping the leaves attached to the stem. Rinse and drain.
3. Carry out controlled salting
Dissolve 60 g of salt in 1.2 liters of water. Soak the quarters well in this brine and distribute the other 60 g of salt between the leaves, concentrating a little more on the thick, white parts. Place the chard in a bowl, pour the brine over it and keep the leaves in contact with the liquid with a clean plate, without crushing them.
4. Check flexibility and rinse
Let it salt for 6 to 7 hours in a cool place, turning the quarters two or three times. The point is when the thickest white part bends without breaking and the leaves are wilted but still firm. Rinse three times in cold water to remove excess salt and let drain for 45 to 60 minutes.
5. Cook the rice paste
Mix the glutinous rice flour with 240 ml of water in a small saucepan. Cook over low heat, stirring, until a thin, translucent cream forms. Turn off and let cool completely.
6. Prepare the seasoning
Blend or process the garlic, ginger, pear, fish sauce and sugar until a moist mixture forms. Add to the cold rice cream and incorporate the gochugaru. Mix in the daikon and chives. The paste should be thick enough to adhere to the leaves without running like liquid sauce.
7. Season leaf by leaf
Wear gloves. Spread a thin layer of paste between the leaves of each quarter of chard, paying attention to the white parts. It is not necessary to form a thick layer: the objective is to distribute the seasoning evenly. Use the outer sheet to wrap each quarter.
8. Compact without overfilling the container
Place the seasoned quarters in the container, pressing down firmly enough to reduce air pockets. Leave at least 5 cm of free space at the top and do not exceed approximately three-quarters of the capacity. The kimchi will release liquid and carbon dioxide during fermentation.
9. Ferment with temperature control
In a stable environment around 20 °C, leave the container out of the refrigerator for around 24 hours. If using a regular screw cap, close it without tightening it excessively to allow gas relief and keep the pot on a plate. In a warmer kitchen, especially above 22°C, prefer to start fermentation in the refrigerator, where it will occur more slowly.
10. Measure the pH and decide by the point, not the clock
After the first 24 hours at around 20 °C, remove some of the liquid that has accumulated with a clean utensil and measure the pH according to the instructions on the strip or pH meter. If it is above 4.6, continue fermentation and repeat the measurement daily. At around 20°C, this usually occurs in about 1 to 2 days; under refrigeration, acidification may take approximately 3 to 4 days or more. Only consider this batch ready for consumption when the measured pH is 4.6 or lower.
11. Refrigerate
When the pH reaches 4.6 or below, press the kimchi again to minimize contact with air, close the container and keep refrigerated at 4°C or below. The flavor will continue to become more acidic over time.
Right spot / how to know it’s ready
Fermented kimchi usually forms small bubbles, releases more liquid and develops an acidic and spicy aroma. The chard remains flexible and still retains some crunch, while the paste is more integrated into the leaves. These signs show fermentation activity, but the safe point for this recipe is verifiable: pH of 4.6 or lower. A pH close to 4.2 usually corresponds to a more distinctly acidic kimchi, but flavor preference may vary after the safety limit has been reached.
Tips for the recipe to work out
Do not reduce salt on your own
Salting helps remove water from the chard, preserve texture and create a favorable environment for fermentation. As much of the salt is removed during rinsing, reducing the initial amount can alter the speed of fermentation and the safety of the process.
Use an appropriate pH range
Very wide strips are difficult to interpret near the 4.6 limit. Prefer narrow range strips, for example between pH 3.0 and 5.5, or a calibrated pH meter. Measure the kimchi liquid with a clean utensil.
Give room for gas
The container needs free space because fermentation produces carbon dioxide and can cause the brine to rise. Keeping the pot on a plate prevents mess if it overflows.
Minimize contact with air
Compact the kimchi and keep the leaves pressed into the liquid whenever possible. Excess air on the surface promotes unwanted growth.
Use time as a reference, not as authorization to eat
Temperature, size of the chard, amount of liquid and composition of the batch change the speed of acidification. If the pH is still above 4.6, continue fermentation even if the estimated time has passed.
Substitutions and variations
Korean radish can be substituted for daikon. Daikon tends to be a little more moist and pungent, but it maintains the function of adding crunch and volume to the filling.
If you can't find Korean pears, use regular ripe pears. Sweet apple also works, but changes the aroma and can make the flavor more fruity.
Gochugaru should not be exchanged in the same quantity for cayenne pepper or very hot flakes: the intensity and texture are different. If necessary, reduce the gochugaru to 60 g for a kimchi
less spicy, maintaining other fermentation controls.
This formulation uses fish sauce. For a fish-free version, don't treat a swap for soy sauce as a direct equivalent: flavor, salt content and allergens change. Choose a formulation specifically validated without fish and maintain pH control.
How to store
Once the pH reaches 4.6 or below, keep the kimchi tightly closed and refrigerated at 4°C or below. For better texture and flavor quality, preferably consume within 2 weeks; it will continue to ferment and become progressively more acidic. Remove portions with a clean utensil and press the rest to reduce contact with air.
If there is visible mold on the surface or an odor that is clearly deteriorated and different from the normal sour fermentation aroma, discard the entire batch. Don't just scrape the affected part to continue consuming.
How to serve / side dishes
Serve cold or slightly chilled as banchan, in small portions alongside rice and hot dishes. As it ages and becomes more acidic, kimchi also works well in fried rice, stews, savory pancakes, and stuffing.
Common mistakes
Why was the chard too salty?
The most common cause is excessive salting time or insufficient rinsing. For the next batch, maintain the 6-7 hour range and rinse three times. Avoid diluting an already assembled batch with pure water, as this alters the salt concentration during fermentation.
Why didn't blisters appear on the first day?
Colder fermentation can be discreet. Check the temperature and measure the pH; the absence of bubbles does not prove failure, just as many bubbles do not prove safety.
Why did the pot overflow?
The container was overfilled or there was little free space. Leave at least 5 cm at the top and use a plate under the pot during the most active phase.
What to do if mold appears?
Discard the batch. Mold indicates exposure to air or another flaw in the fermentation environment and should not just be removed from the surface.
Frequently asked questions
Can I eat kimchi right after seasoning?
There are fresh, unfermented Korean preparations, but this recipe was structured as a fermented batch with safety controls. For this method, wait for the pH to reach 4.6 or below before consuming.
Do I need to use a yeast starter?
No. Traditional kimchi fermentation relies on bacteria naturally present in the ingredients. Control is done by formulation, hygiene, temperature, low exposure to air and checking acidity.
Can I use a ceramic pot?
Food-safe ceramic containers can be used, but food-grade glass or plastic makes home inspection easier. Do not use cracked, chipped or unknown pottery for fermentation.