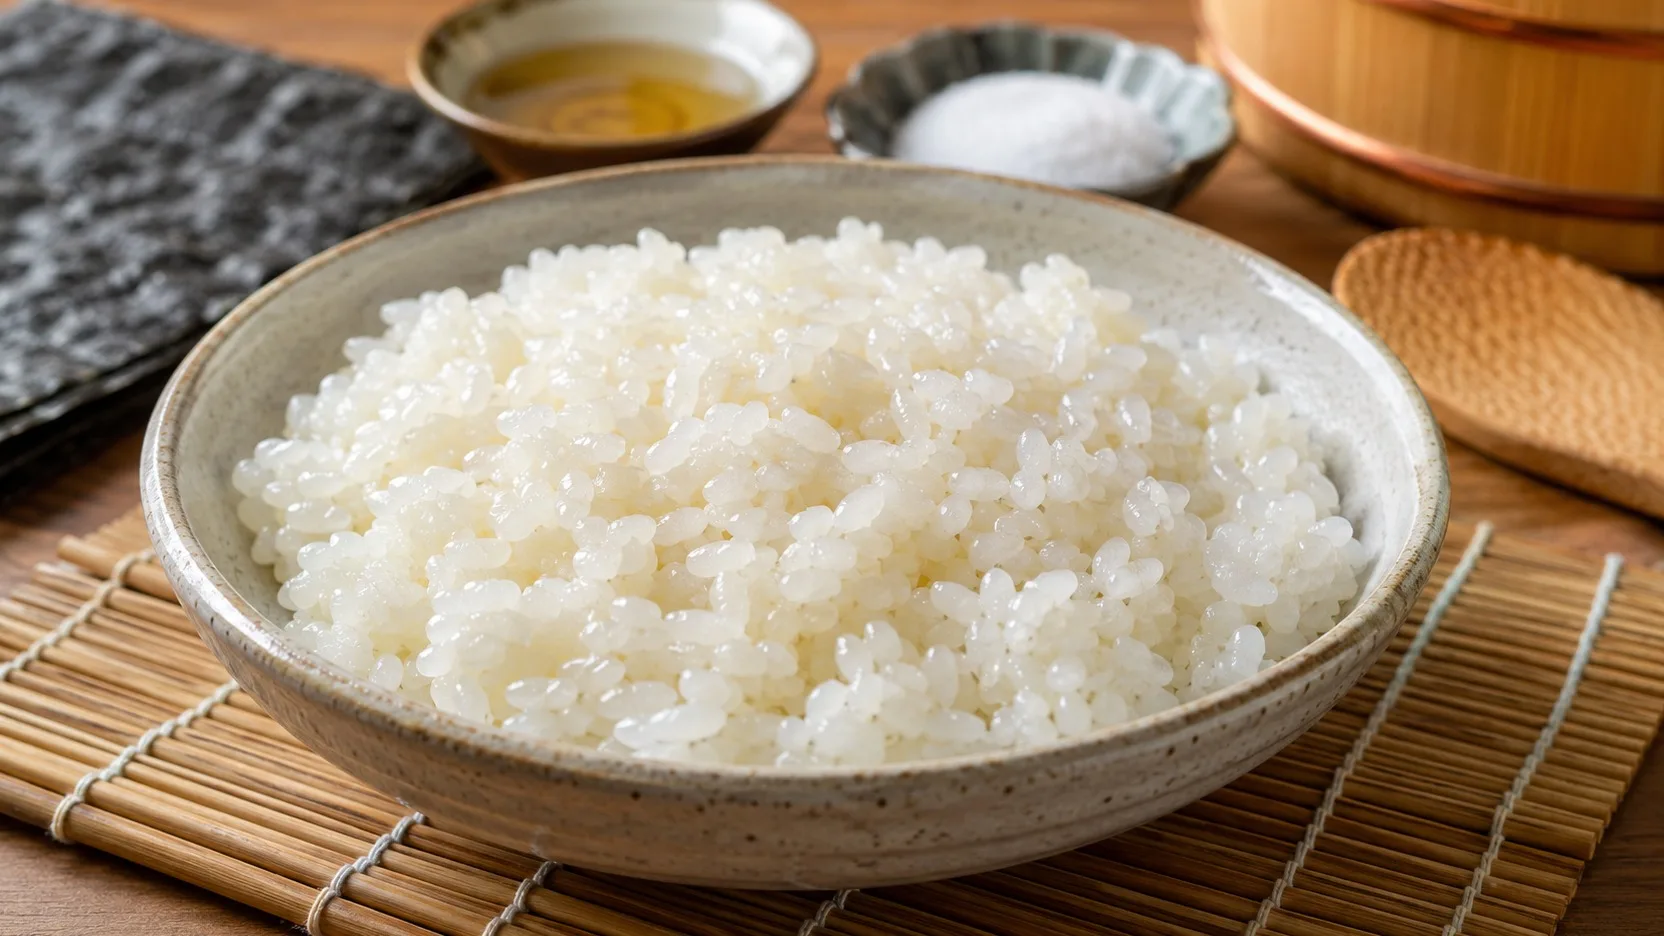
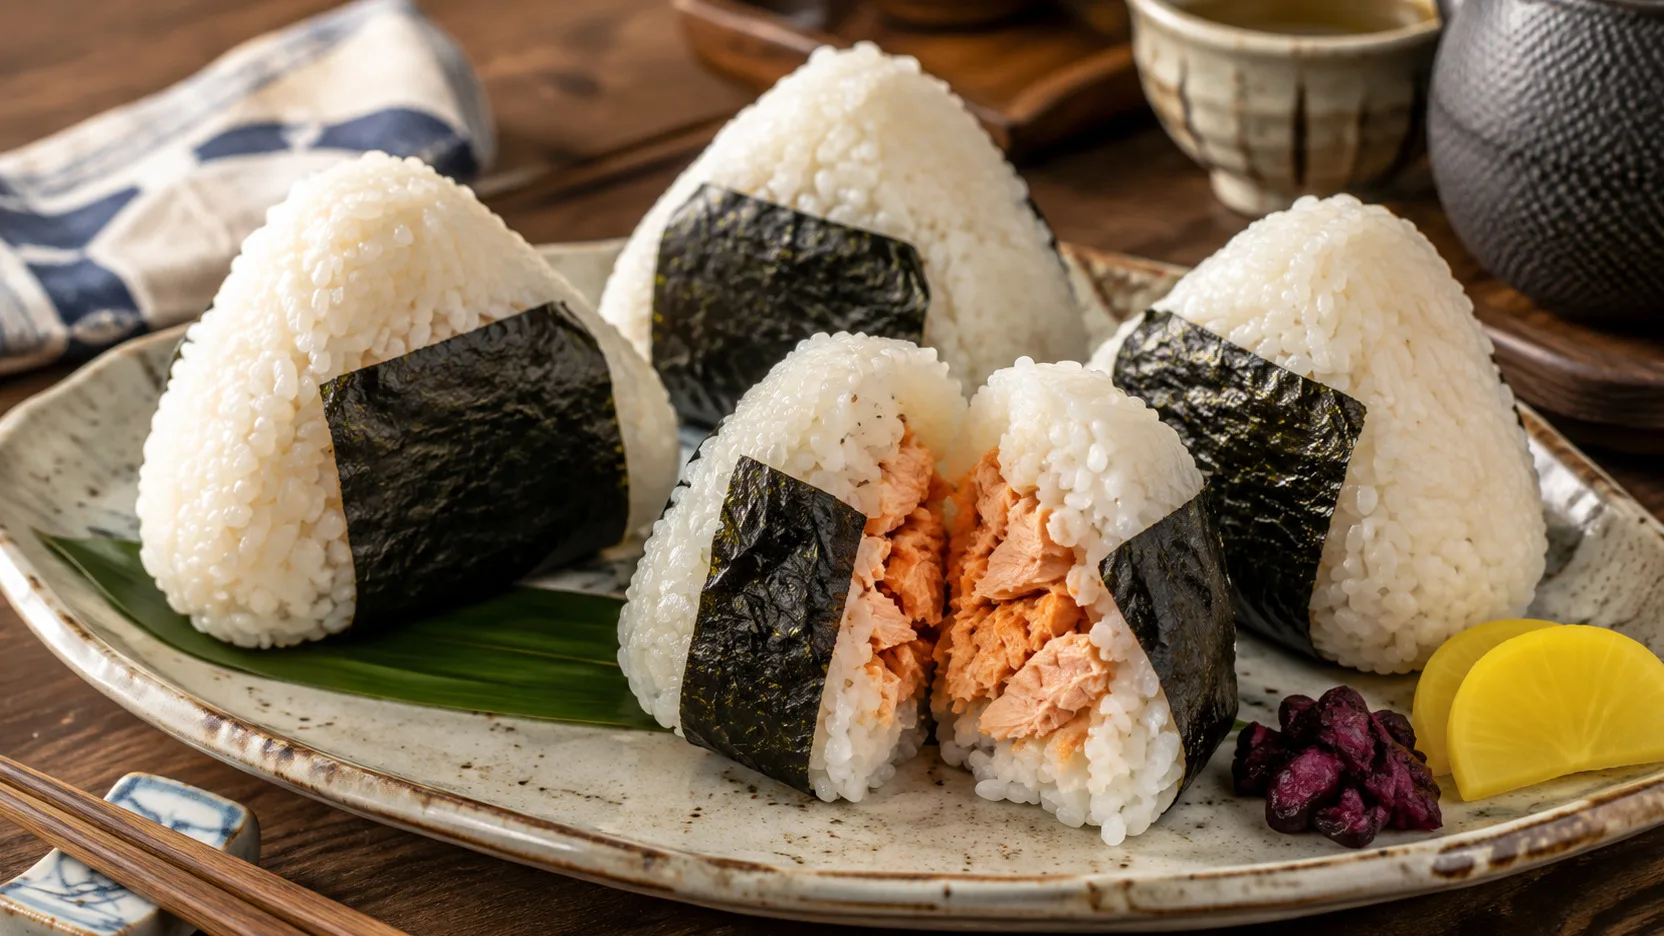
This basic recipe teaches you how to cook Japanese rice, prepare a simple salmon filling and shape firm onigiri without compressing the grains too much. The rice does not have the vinegary seasoning of sushi: it is used pure and receives salt during molding.
Ingredients
For rice and molding
• 300 g short-grain Japanese rice
• 400 ml of filtered water, for cooking
• 150 ml of cold drinking water, to moisten your hands
• 4 g of fine salt, divided between the salmon and the molding
• 3 sheets of nori, cut in half
For the salmon filling
• 180 g skinless, boneless salmon fillet
• 5 ml of neutral oil, such as canola or sunflower
• 5 ml soy sauce
Preparation method
1. Wash the rice
Place the rice in a bowl, cover with cold water, stir quickly by hand and drain. Repeat washing 3 to 4 times, always using light movements, until the water becomes less cloudy. Drain well so as not to change the amount of cooking water.
2. Let the rice hydrate
Pour the washed rice into a thick-bottomed pan, add 400 ml of cooking water and let it rest for 30 minutes with the pan covered. This time helps the short grain to hydrate evenly before cooking.
3. Cook and shred the salmon
While the rice hydrates, dry the salmon with paper towel and season with about 1 g of salt. Heat the oil in a frying pan over medium heat, add the fish and cook until the center reaches 63°C; without a thermometer, the meat should be opaque and separate easily into slivers. Let it cool, shred and mix with the soy sauce. Book.
4. Cook rice without opening the lid
Place the covered pan over medium heat until it starts to boil. Once it is steadily boiling, reduce to the lowest heat and cook for 12 minutes. Turn off and keep the pan closed for another 10 minutes for the steam to finish cooking.
5. Release the grains and wait for the molding temperature.
Open the pan and loosen the rice with a spatula, using cutting and turning movements, without kneading. Lightly spread the rice inside the pan or on a plate and wait a few minutes, just until it is warm and comfortable for your hands. It should still be wet and sticky enough to stick.
6. Divide and fill
Separate the rice into 6 portions of approximately 105 to 115 g. With your hands well washed, quickly moisten them in cold water and spread a small pinch of the remaining salt on your palms. Take about half a portion of rice, flatten it into a shell, place 20 to 25 g of salmon in the center and cover with the rest of that portion.
7. Shape the onigiri
Gather the rice around the filling and compact only as much as necessary to keep it together. For the triangular shape, cup one hand and use the other to form the top face, rotating the onigiri.
each press. Repeat for a few turns, until you get three defined sides, without crushing the grains. Only re-moisten your hands when the rice starts to stick too much.
8. Place the nori
Wrap the base or center of each onigiri with half a sheet of nori. To keep the seaweed crispier, only add it close to serving time; If the onigiri is left wrapped for a while, the nori will absorb moisture and become soft.
Right spot / how to know it’s ready
The rice should be soft and shiny, with whole grains that adhere to each other when pressed, but without turning into a pasty mass.. Ready onigiri maintains its shape when lifted and bitten into, while you can still distinguish the grains on the surface. The salmon filling should be fully cooked, at 63°C in the center or with the flesh opaque and flaking easily.
Tips for the recipe to work out
Use short-grain Japanese rice
It is the naturally sticky texture of this rice that allows the onigiri to be shaped. Needle rice or other types of long grain tend to be looser and require excessive compression to maintain their shape.
Do not season the rice like shari
Onigiri and sushi rice solve different tasks. In this recipe, there is no rice vinegar or sugar in the rice; the flavor comes from the salt applied to the molding and filling.
Mold while the rice is still warm
Completely cold rice becomes firmer and less pleasant to shape. At the same time, don't try to shape it right away when you open the pan if it's too hot to touch comfortably.
Press until firm
Squeezing too much eliminates the texture of the grains and leaves the onigiri dense. Apply few even pressures and stop as soon as the unit can support itself.
If you want crispy nori, leave it until last
Prolonged contact with rice transfers moisture to the algae. To serve with contrasting textures, wrap the onigiri first and add the nori just before eating.
Substitutions and variations
Salmon can be replaced with pitted umeboshi, well-seasoned okaka or well-drained tuna. Wetter fillings should be used in smaller quantities to avoid opening the onigiri. If you use tuna with mayonnaise, keep it refrigerated and respect the same amount of time outside the refrigerator.
If you can't find Japanese rice, short-grain white rice with good grip is the closest alternative. Long-grain rice is not an equivalent swap because its loose texture makes molding difficult.
The nori can be omitted or applied only in a smaller range. You can also mix furikake with rice before shaping, checking the seasoning ingredients if you have allergies or dietary restrictions.
How to store
Onigiri with salmon should be treated as a perishable food. Serve immediately after preparation or refrigerate within 2 hours; If it is in an environment above 32°C, refrigerate it within 1 hour. Keep the refrigerator at 4°C or below.
In the refrigerator, store the onigiri well wrapped and, preferably, without the nori, for up to 3 days. The texture of the rice becomes firmer when cold; To improve the tenderness, heat the onigiri without the nori until it is very hot and let it cool before wrapping it with the seaweed. To freeze, wrap individually without nori and keep at -18°C; Use within 2 months for best quality and reheat completely, to 165°F in the center, before serving.
How to serve / side dishes
Serve the onigiri while still warm or at room temperature, with the nori placed when ready to eat. Japanese pickles, miso soup, or a simple salad work well as side dishes without competing with the delicate flavor of the rice.
Common mistakes
Why does my onigiri fall apart?
The most common causes are inadequate grain rice, cold and dry rice or too little pressure when molding. Use short-grain Japanese rice, shape it while it is still warm, and compact it just until the unit is stable.
Why did the rice become mushy?
Excess water, aggressive washing or mixing that crushes the grains can leave the texture heavy. Measure the water, stir the rice gently and, after cooking, loosen with cutting and turning movements.
Why did the filling escape?
This happens when there is too much filling, when it is too wet or when it is close to the edge. Keep about 20 to 25 g in the center of each unit and cover completely before starting to form the triangle.
Why did the nori soften?
The seaweed absorbs the moisture from the rice. This is to be expected when the onigiri has been assembled for some time; For crispier nori, keep it separate and only wrap the rice when serving.